
Yummm, as I type this blog post, I am craving yet another slice of this bad boy! So rich and delicious, who wouldn't love this recipe?! Lets get started:
Ingredients:
1 Medium Orange (I used a large one and found that it was super orangey so if you like this use a large one! I didn't mind :)
1 Pre-made Nilla Wafer Crust (can be found in the baking aisle of your super market, if not use a graham cracker one!)
3 Bananas3/4 Cups Granulated Sugar
1 Box Mini Nilla Wafers
1/2 Tsp. Vanilla extract
1.1/4 Cup Whipped Cream (you may use light or fat free as well, tastes just as good!)
2 Tbsp. ROOM TEMPERATURE butter (I used organic, you can use regular if you wish--non salted!)
3/4 Cup Heavy Cream
1/4 Cup Light Corn Syrup (can be found in baking aisle as well)
1/2 Cup water
1/4 Tsp. Salt (to bring out all of the wonderful flavors in this pie :)
5 Egg Yolks (I used Organic Brown Eggs, feel free to use whatever you prefer)
1/2 Tsp. Vanilla Extract (yes a separate 1/2 tsp--this is for the pastry cream filling)
1.1/2 Cups Scalded Milk
1 Tsp. Unsalted Butter (yes a separate 1 Tsp. this will be used for the filling as well)
2.1/2 Tbsp of Cornstarch
1/2 Cup Granulated sugar and a pinch more to your personal liking :) (this is another additional measurement)
Cooking Tools You Will Need:
Whisk
Rubber Spatula
Wooden Spoon
Medium pot
Medium Bowl
Zester
Liquid and Dry Measuring Utensils

- First you want to mix together all of the egg yolks and the 3/4 Cups of sugar. Add in the cornstarch and keep whisking until everything is a pale yellow color.
- In the meantime, bring the milk to an almost boil and when it has reached this point, add it to your bowl slowly while also continuously mixing the egg yolk and sugar mixture.
- Pour this mixture in your medium saucepan and put the flame on low heat. While this mixture is warming, be sure to continuously whisk it until you realize it is thickened well.

- Once your mixture is thickened, remove it from the heat and add the orange zest (this adds such a delightful taste!) and the 1 Tsp. of Butter. Mix well and place everything in a bowl being sure to cover the top with plastic wrap. You want to place the plastic wrap right on top of the mixture instead of on top of the bowl, this assures that the pastry cream filling doesn't form a film at the top. Leave in the fridge until everything is cooled.
- Next we are going to work on our homemade caramel! :) Begin by placing the water and light corn syrup into another medium sauce pan.
- Add the second listing of sugar (1/2 cup) and be sure to NOT mix it all together, just let it sit there in a white mound on the bottom of the pan--I have OCD tendencies so this was SO hard to do haha
- Put this over medium low heat until you can't see anymore of the white sugar and you are confident it has dissolved.
- After you see this, pipe up the heat to high and bring it to a vigorous boil, remember not to stir! This process will take about 10-13 mins, but be patient, you want to wait until it reaches a nice amber like color :)

- Once the mixture in your medium saucepan has turned an amber color, turn the flame back down to low and add in your room temperature heavy cream. BE SURE TO DO THIS VERY SLOWLY!
- Continue to whisk this heavy cream in pretty fast, you don't want to go too slow or the caramel will form a clump on your whisk, believe me, I've done that before! (your mixture is going to look pretty out of control once you begin adding the heavy cream, but take control of it and don't let it control you! lol whisk whisk whisk and you MAKE it come together! :)
- After everything is combined and you have what looks like caramel, add 3/4 of this in with your sliced bananas in a bowl and coat them evenly. (I say 3/4 of the caramel because you may want to use some of the leftover caramel as a drizzle for decoration before serving)

- Place this banana caramel mixture as the first layer in your pie, smoothing it our over the bottom.
- Place your mini Nilla Wafers as a thin second layer right over the banana mixture.
- Remove your heavy cream from the fridge (hopefully fully cooled at this point) and spread a layer of that over your Nilla Wafers being sure to smooth everything out evenly.
- Lastly, take out your whipped cream and spread this as the final layer. I am going to warn you now, some of the caramel may ooze out of the sides depending on how thick you have made your layers, but have no fear, this can easily be wiped up and your pie will not suffer in flavor because of this :)
- Don't worry yourself about being perfect while spreading your whipped cream, the "homemade" look is what we are going for anyway right?!
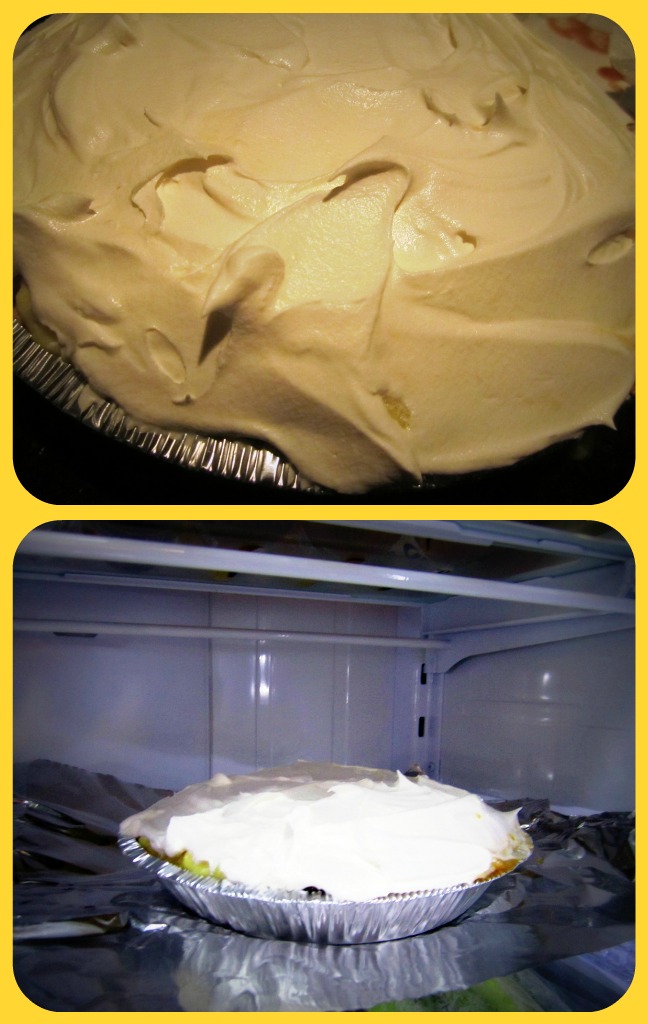
- Leave this pie in your fridge for at least 4 hours (I left mine over night because after 4 hours it still wasn't "set" all the way and not everything had congealed together as I would have liked it to at that point.
- Place a piece of aluminum foil under your pie so that if any of that yummy filling leaks out, your fridge will be saved!
This recipe was a hit with everyone who had the pleasure of trying a piece, its truly a piece of comfort, and I LOVE bananas and anything banana so this is for sure one of my favorite pies to make :)
3 Bananas and some Caramel,
xox

